Expert Topic for experienced builders.
This workflow applies to compatible custom hardware and first-party Bottango control boards.
Before creating the relay network:
Firmware updates still need a direct USB connection to each device, so make sure each device remains easy to connect and reflash when needed.
For RS485, it is best to power down the devices and finish the bus wiring and resistor termination before configuring the software relationships. For ESP-NOW, keep the devices near each other during initial setup so that distance and interference are less likely to complicate setup.
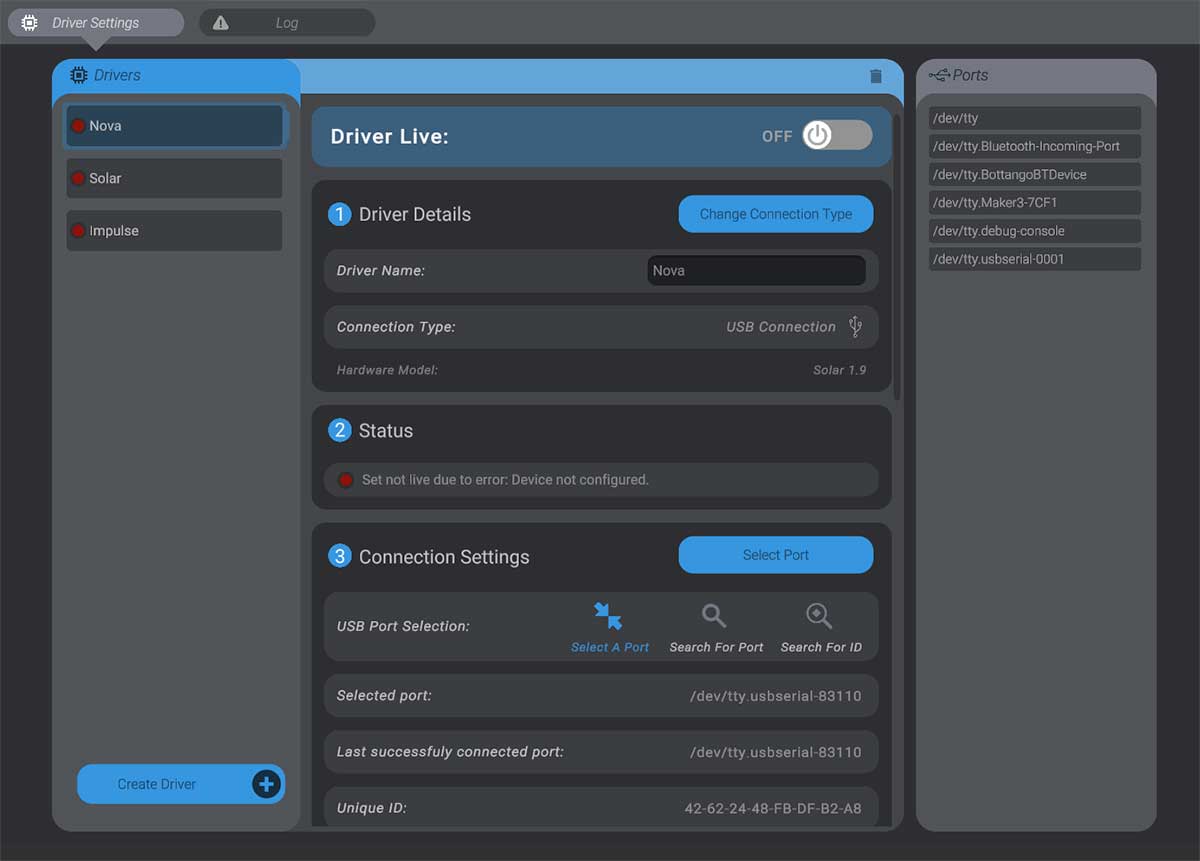
Connect the device that will be the bridge directly to the computer over USB.
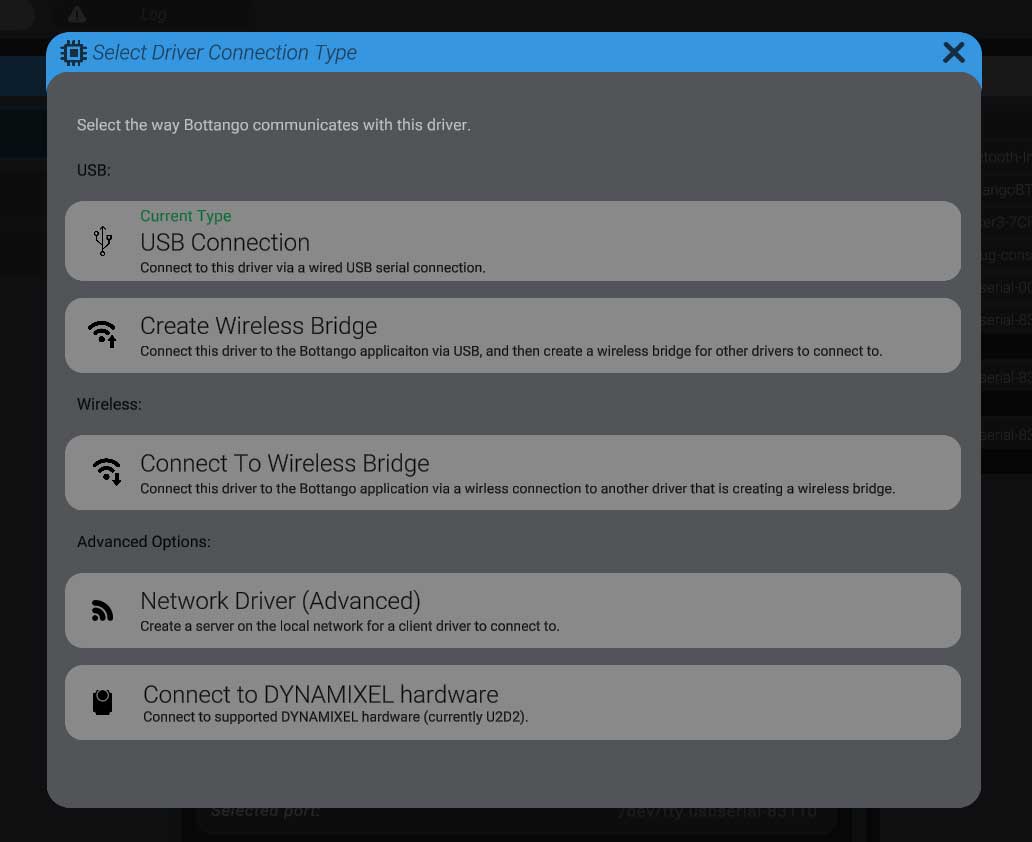
Select its hardware driver in Bottango and press Change Connection Type.
Select Create a Wireless Bridge.
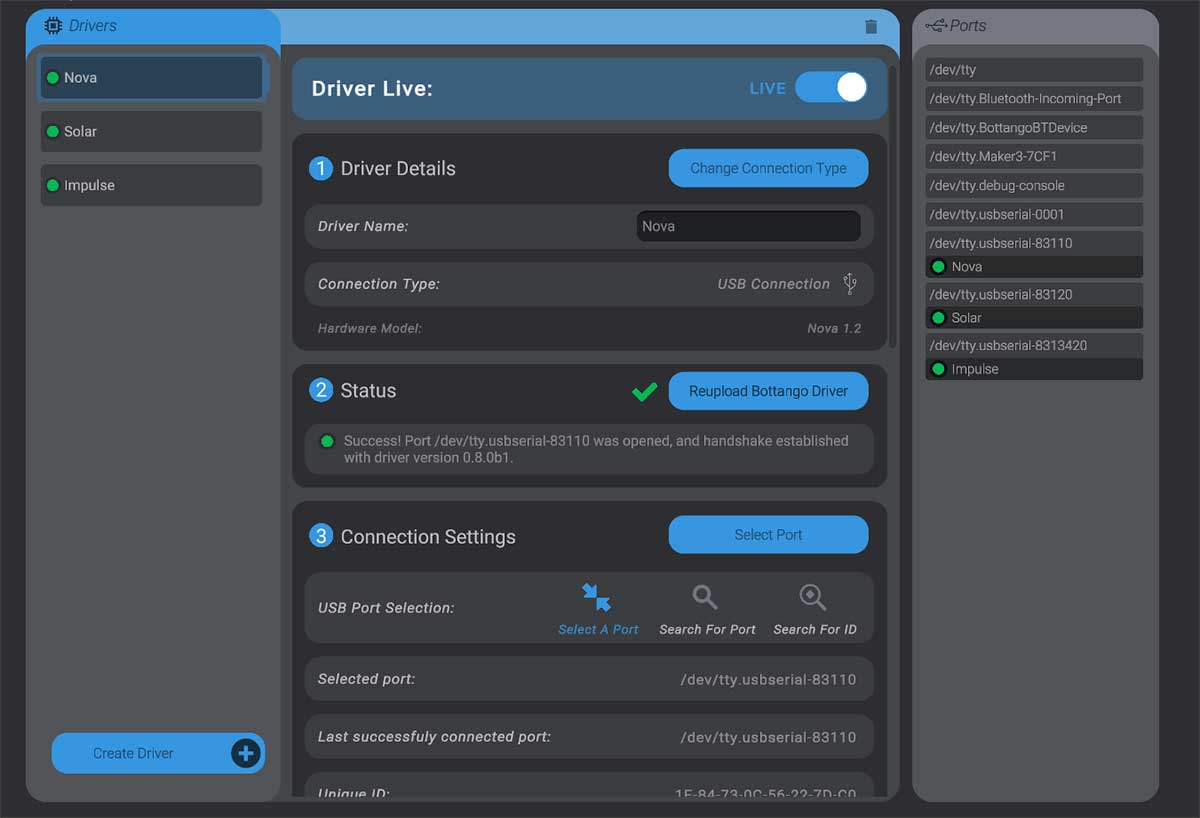
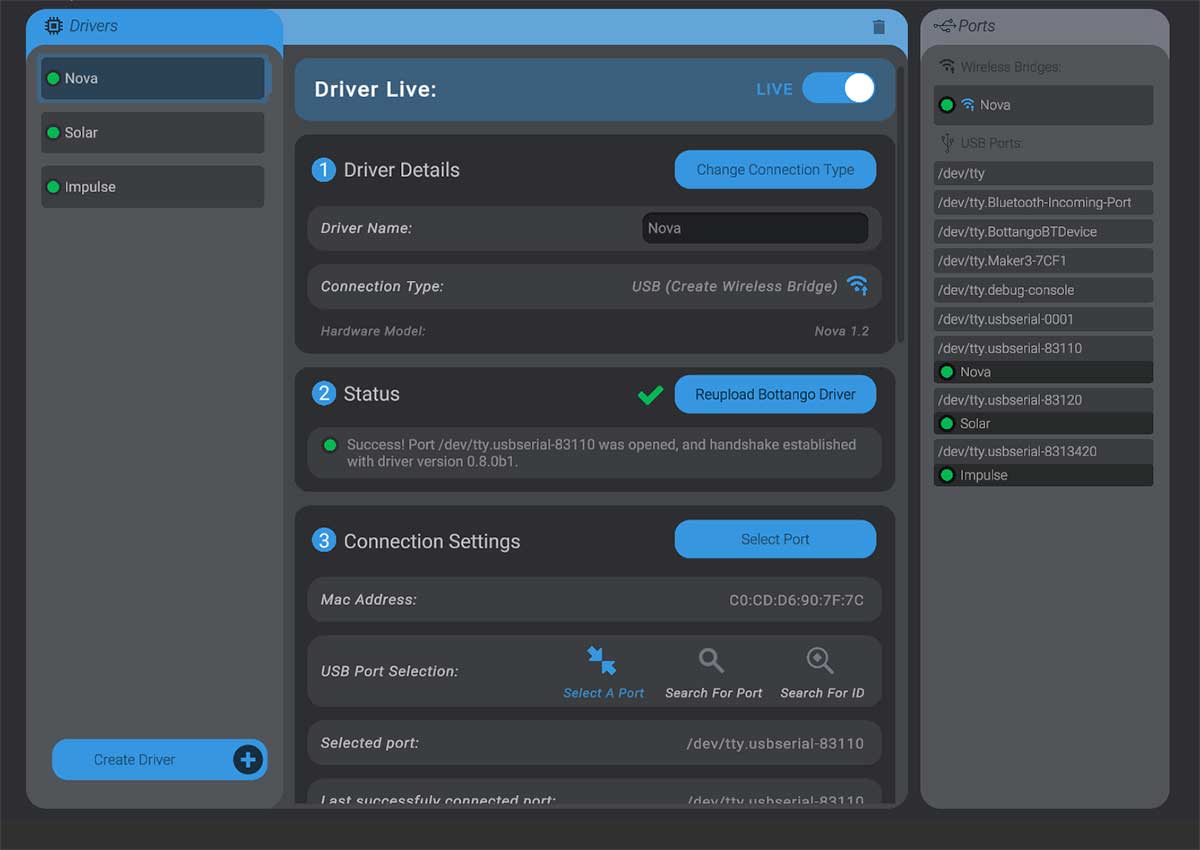
Allow Bottango to send the configuration and restart the device. After reconnecting, the bridge appears as an available connection in the hardware ports list.
Keep the bridge connected and available while configuring each peer.
Connect a peer directly to the computer over USB and select its hardware driver.
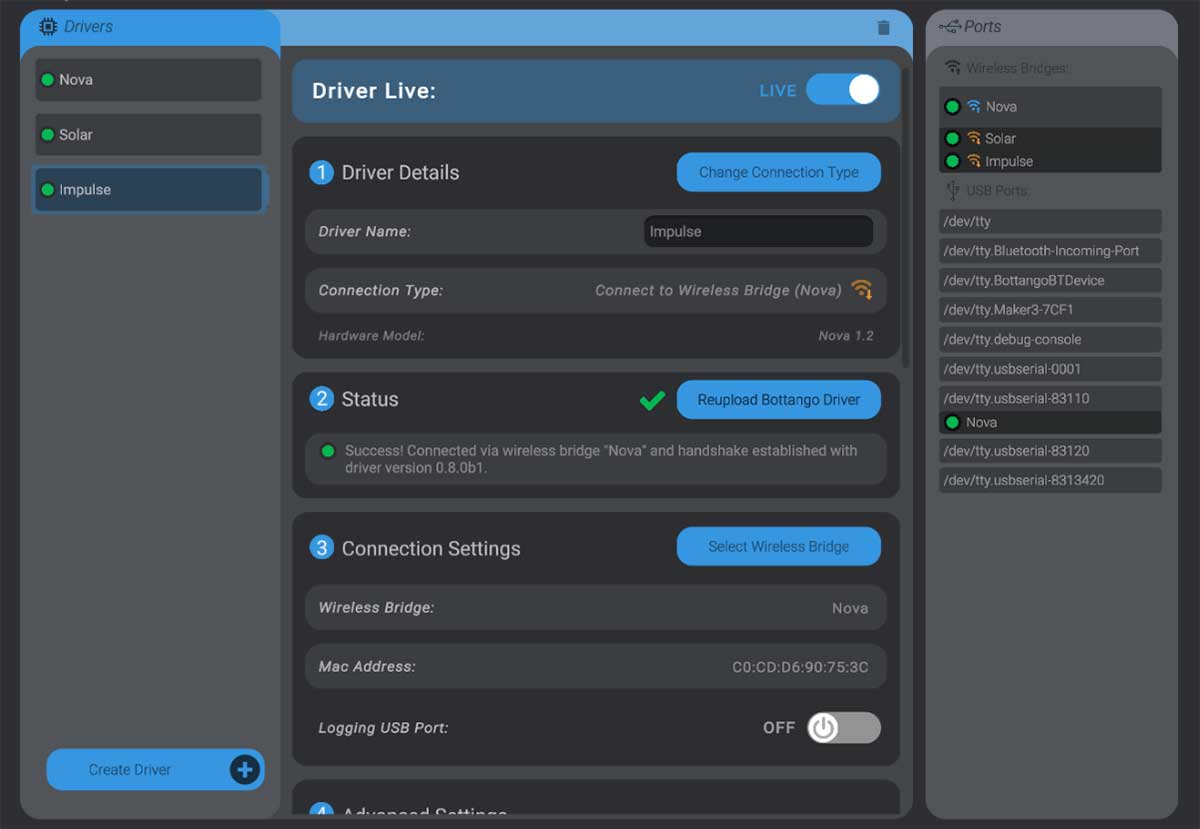
Press Change Connection Type, then select Connect to Wireless Bridge.
Press Select Wireless Bridge and choose the bridge from the hardware ports list.
Allow Bottango to save the assignment and restart the peer.
Repeat for every peer in the network.
Once configured, the peer drivers appear through the bridge rather than through individual serial ports:
A peer must be returned to direct USB control for firmware updates or changes that cannot be made through the bridge.
Connect the peer directly to the computer over USB.
Select its hardware driver and press Change Connection Type.
Select USB Connection, then select the correct serial port if prompted.
Confirm that the device reconnects directly and no longer waits for its bridge.
If you cannot restore the USB connection through the app, disable RELAY_SUPPORTED in BottangoArduinoModules.h and reupload the firmware. Without relay support enabled, the device will return to using a direct USB connection.
First-party Bottango boards also provide a documented factory reset.
Once relay communication is set up, you can optionally turn the bridge into a Standalone Show Controller.