Common Issues and Fixes
Common Troubleshooting Steps
Section titled “Common Troubleshooting Steps”If things aren’t going as expected, a good way to get back to working order is to disconnect all boards from your computer, turn “master” off in your project, unplug all USB and power connectors, turn master back on, and reconnect the boards one at a time.
You can also always try hitting the reboot button on the boards to see if a quick reset fixes your problems. This especially helps when you first plug in the control board and you don’t see any status lights. Be sure to give the reboot button a press in that case to “wake it up.”
Double Check Settings and Connections
Section titled “Double Check Settings and Connections”A lot of the time, the problem comes down to an unplugged wire or a mistaken setting. Depending on your problem, be sure to double check things like:
- Is my servo DC power input plugged in?
- Did I export out the right animation trigger settings?
- Did I forget to put the SD card back in the board? etc.
When combining hardware and software, the number of places to make mistakes goes way up! Everything can be right in software, but the hardware may not be plugged in correctly. Or you can have the hardware set up correctly, but forget to enable a setting. Think systemically through the issue, and check each spot where a mistake could cause the failure. Try to reduce variables, return to a known working state, and then add elements back in until you find the break.
Wrong Firmware
Section titled “Wrong Firmware”If you’ve been uploading firmware to the board using the Arduino IDE and/or provided firmware source code, configuring it incorrectly can cause some confusing issues.
If you can connect to the board in the Bottango application but lots of functionality is missing, such as status lights, servo movement on Bottango Solar / Impulse, or wireless bridge and peer modes, then you likely uploaded the firmware without setting the proper board definition flag in BoardDefs.h. You’ll need to follow the Modifying the Firmware guide to reupload the correctly configured firmware.
Just reuploading via the in-app upload tool will not work if the current firmware is incorrect. However, once you’ve gotten back to a working state via the source code, you can go back to using the in app uploading tool again.
”Factory Reset” a Control Board
Section titled “”Factory Reset” a Control Board”While using the control boards, you can set them into different modes: Exported Animation Mode, Wireless Connection Mode, Create Wireless Bridge Mode, etc.
If you find yourself stuck, and can’t connect to your board, you can always do a “factory reset” to bring it back to the default configuration of live control over a USB connection.
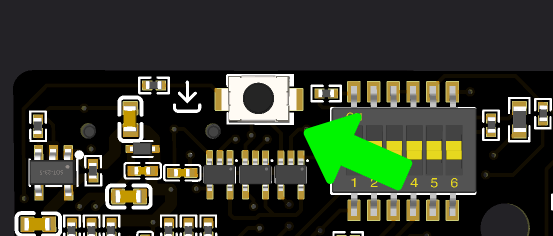
On the back of each board is a small “Factory Reset” button. It is in a different position on each board, but has the same icon. Here is the button on Bottango Solar:
First, quit Bottango so that you are not connected to the board, then plug the board into your computer over USB so it is getting power.
Press the reboot button on the front of the board one time, then press the small factory reset button on the back of the board exactly 5 times quickly. Take note that the factory reset button on the back and the reboot button on the front are not the same button.
When the reset occurs, the three status lights at the top of the board will flash white quickly. The board will reboot in the default configuration.
Factory-resetting a control board will not change or reset the firmware on the device; it only resets all toggleable states (such as connecting to a bridge, playing exported animations, etc.). If you have customized the firmware and there are errors in it, you’ll need to either go back to the stock firmware or fix your errors and reupload.
Logic Power Fault Light
Section titled “Logic Power Fault Light”The Bottango control boards’ logic circuits are protected with an e-fuse. After an overvoltage event, overcurrent event, or short circuit, it may be tripped. The red light will illuminate on the board, and you will need to remove all power from the board to reset it. Before you operate the board again, investigate what may have caused the fault in the first place, as damage is likely if the fault keeps occurring.
Enabling Verbose Logging
Section titled “Enabling Verbose Logging”If you’re troubleshooting an issue, it can help to know more about what is going on. Bottango control boards can enter a verbose logging mode. However, the amount of logging that occurs in this mode can interfere with normal operations, so you should only enable it when you need it to diagnose an issue. This is an advanced troubleshooting technique.
To enable verbose logging, connect the control board to a serial monitor, and then press the factory reset button from the previous section exactly three times. You will see a log entry in the serial monitor that verbose logging has been enabled. There will be a large number of entries such as:
- When and why exported animations were triggered
- Data sent and received as a show control bridge
- Data sent and received as a show control peer etc.
Don’t be surprised if the amount of logging interferes with other serial operations, including connection to the Bottango software. It really is verbose!
To disable, press the button three times again (or 5 times to do a full factory reset).
Getting Help
Section titled “Getting Help”You can always get support as well:
- The best way to get help is in the Bottango Discord community. Bottango developers and users all help each other out there.
- You can reach out to Bottango’s email support. Bottango’s email support will be more focused on hardware recommendations and issues with the products themselves. If your issue is more about support for your unique project, and less about Bottango product support, email support may point you toward the Discord community for community feedback rather than help you fix problems in your custom designs.