Set Up Wireless Connections
Connect Over USB
Section titled “Connect Over USB”To start, make sure you have a driver in your Bottango project for each control board. For example, if you had the following project layout:
- 1x Bottango Nova (Bridge)- 1x Bottango Solar (Peer)- 1x Bottango Impulse (Peer)You will want a driver in the project for each.
-
Create a driver for each control board in your project.
-
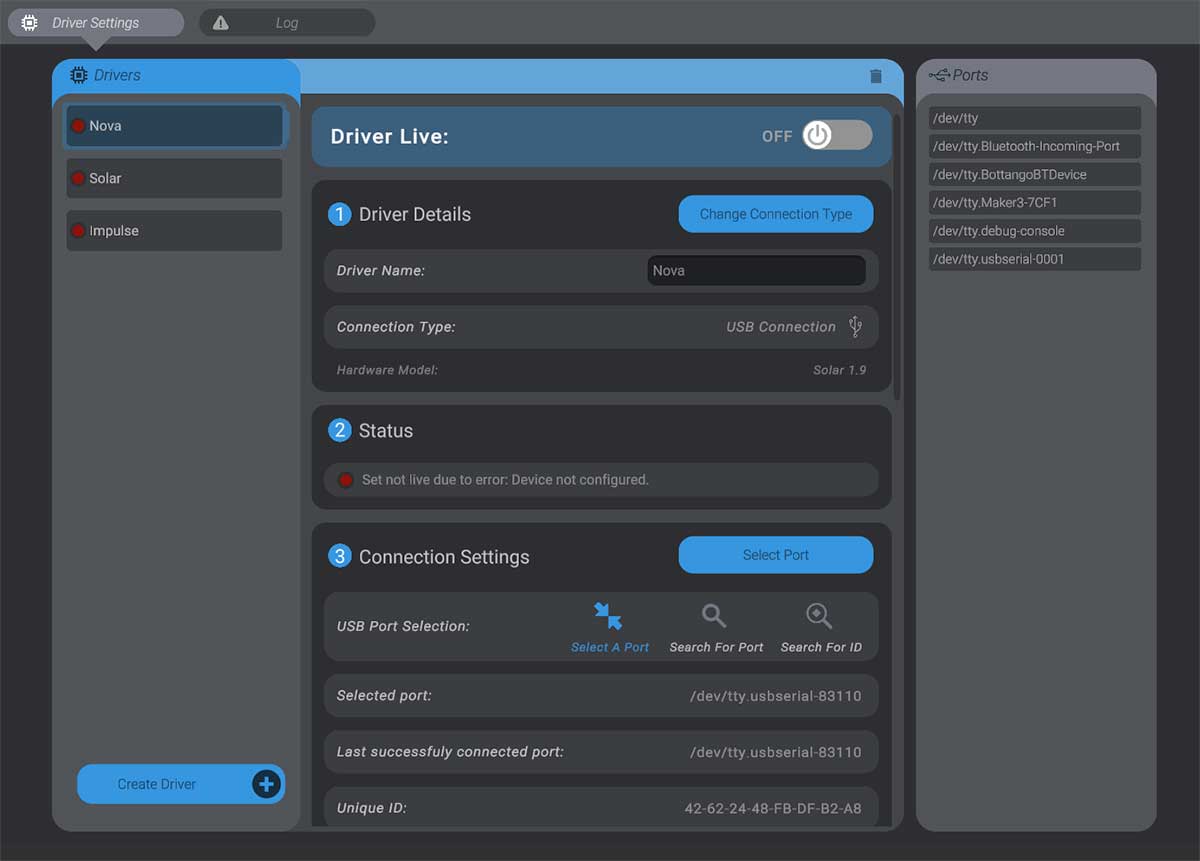
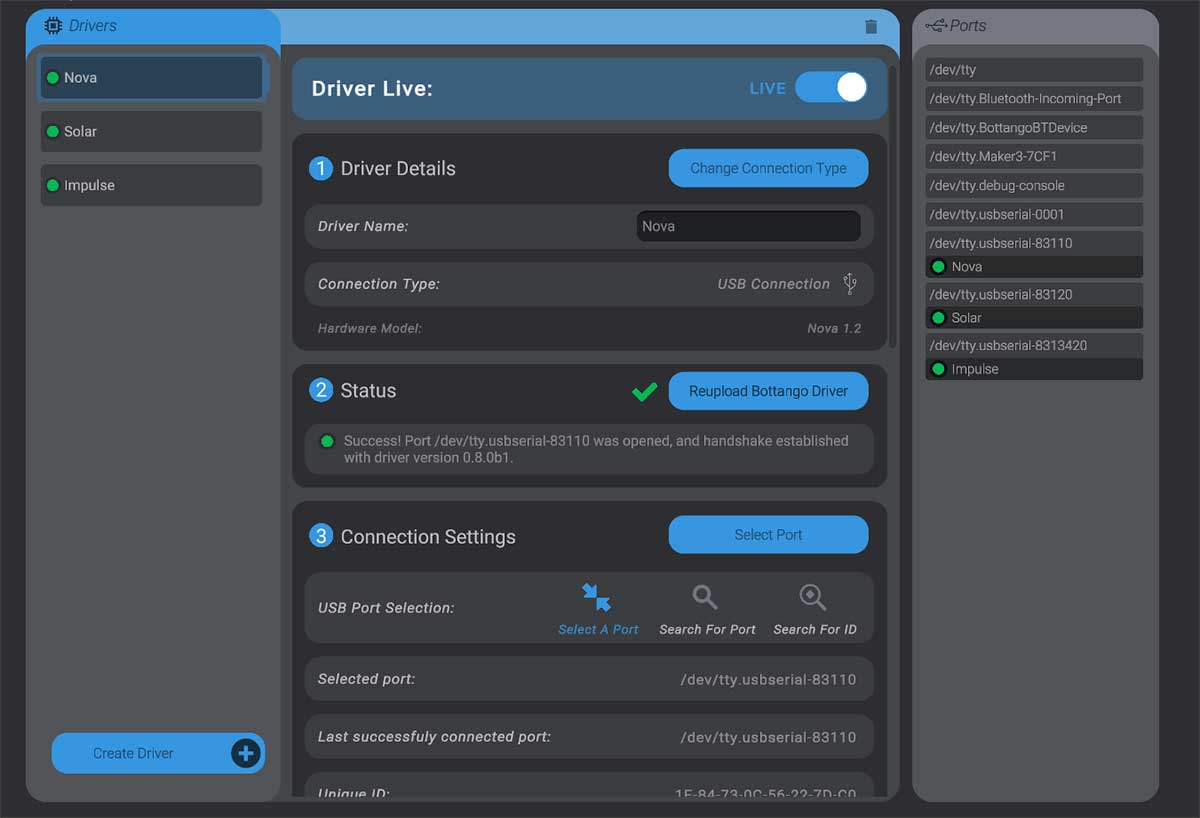
Connect all boards to your computer over USB and connect to them in Bottango. If any are in exported animation playback mode, make sure they are set back to live control, and are updated to the latest firmware version.
Set Up a Bridge
Section titled “Set Up a Bridge”With all boards connected to your computer over USB, you’ll first set one of the boards as a bridge.
-
Select the board you want to be the bridge in the Bottango hardware menu. (Nova in this example)
-
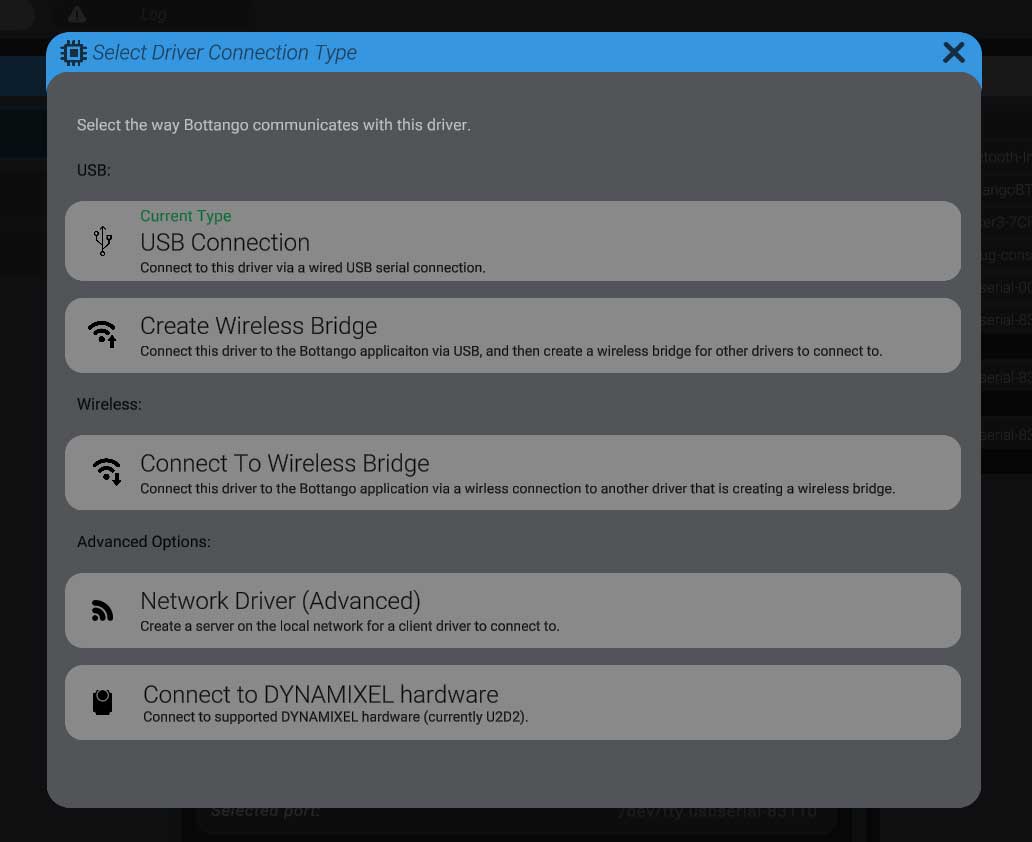
With the driver selected, press the “Change Connection Type” button, then select the “Create a Wireless Bridge” option.
-
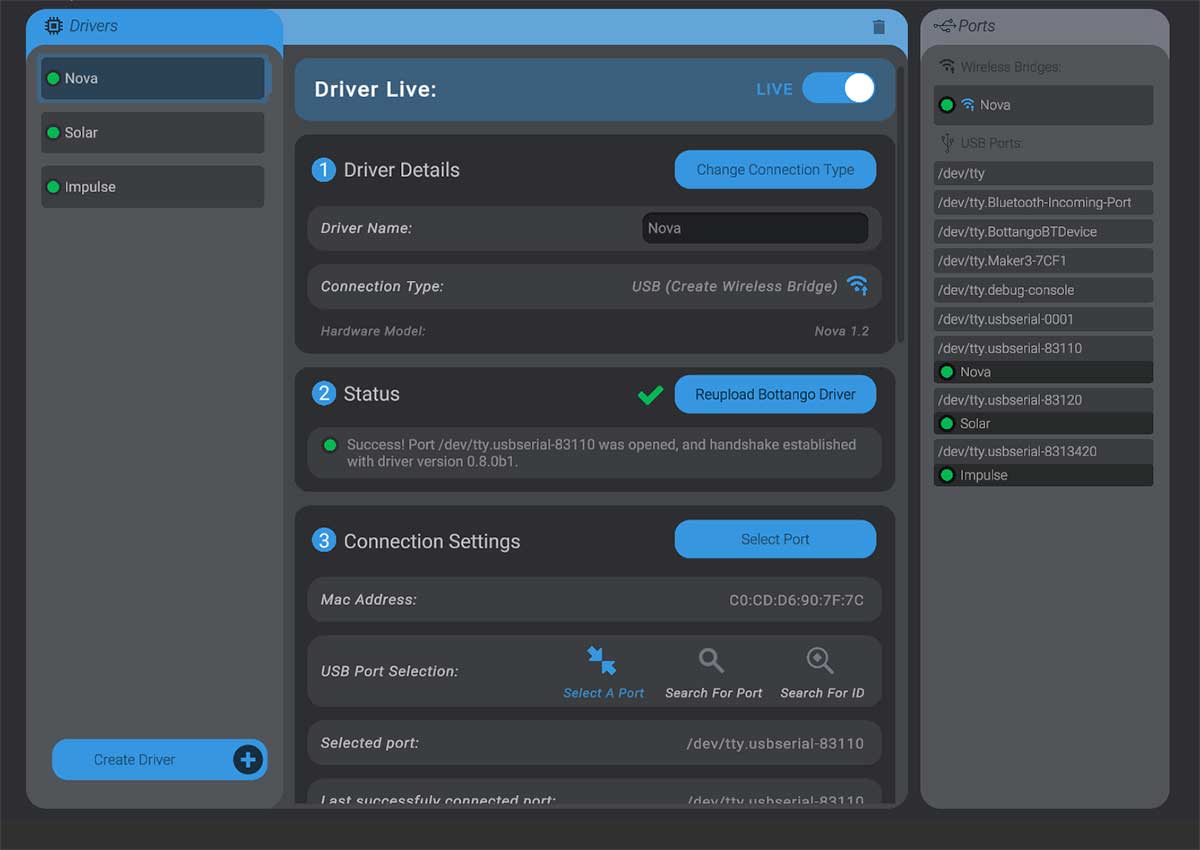
The software will send configuration commands and the board will restart. Once it has restarted, if it is successfully creating a wireless bridge, you’ll see that reflected in the UI, including its listing on the right-hand ports side as a wireless bridge option.
Set Up Peers
Section titled “Set Up Peers”Once a bridge has been set up, with your peer boards still connected to the computer via USB, you can set them to connect to the bridge.
-
Select the board you want to connect to the bridge
-
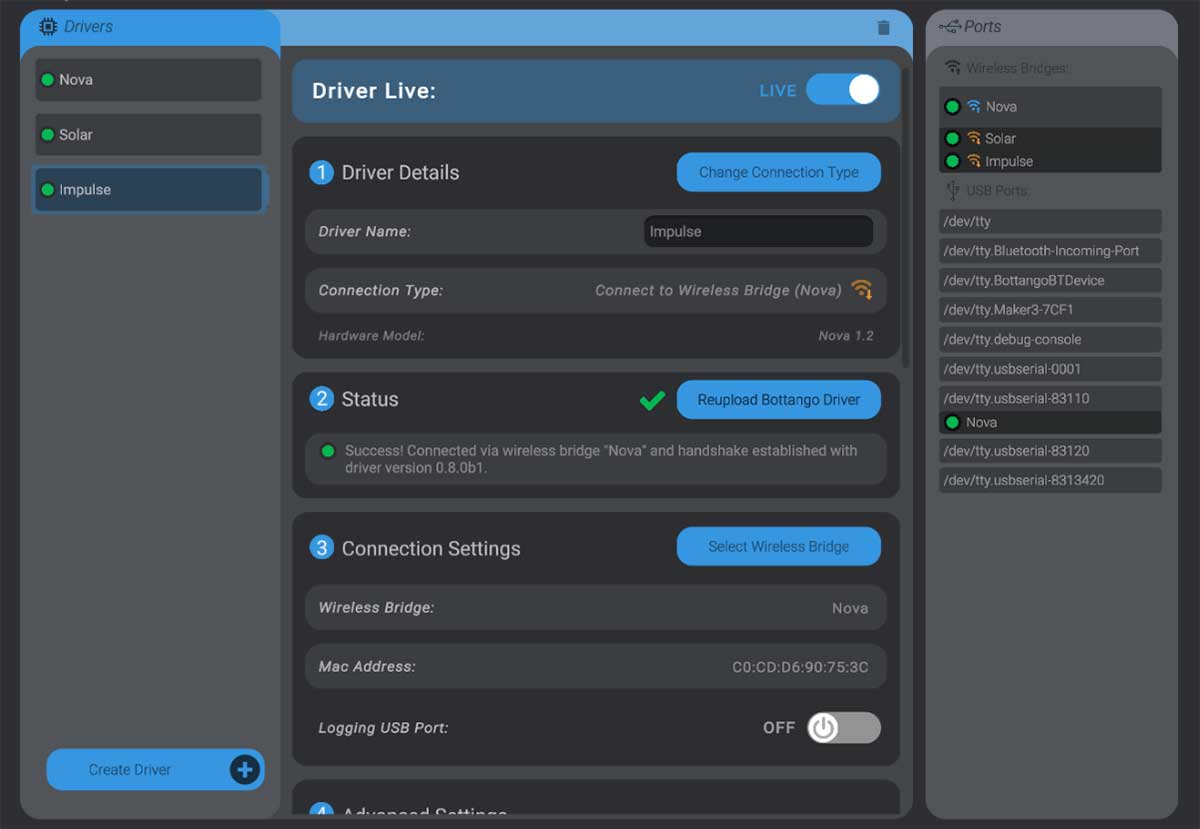
With the driver selected, press the “Change Connection Type” button, then select the “Connect to Wireless Bridge” option.
-
You need to select the wireless bridge you want this device to connect to. Press the new “Select Wireless Bridge” button, and then click on the bridge on the right-hand ports side of the menu. The software will send configuration commands and the board will restart. Once it has restarted, it should attempt to connect to the bridge rather than directly to your computer.
Repeat these steps for each peer until all are connected via the bridge. You’ll see on the right-hand side that the boards are connected via the bridge rather than a direct serial port connection.
Status Lights
Section titled “Status Lights”The status lights on the board can help you understand the current state. As an example, the first light pulsing yellow helps remind you that the board is set to connect directly to a computer.

The first light pulsing blue helps remind you that the board is instead set to connect to a bridge.

Once connected in either case, the light will pulse green.

Ready to Go
Section titled “Ready to Go”Once you’ve done this setup, the peers will be set up to connect to the bridge automatically. You can disconnect them from the computer (but you’ll still need to power them) and Bottango will connect to them via the bridge. Be sure your computer is connected to the bridge before connecting the other boards; otherwise, Bottango won’t be able to connect to the peers.