Wiring
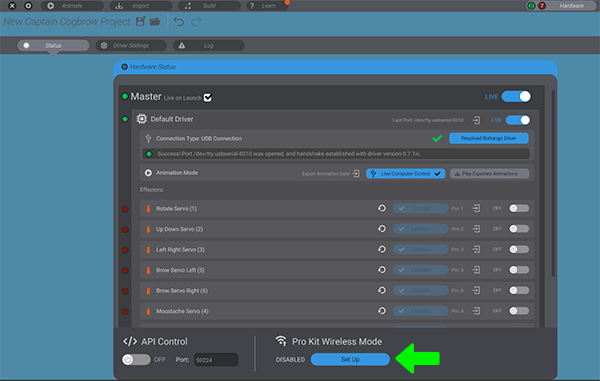
To set up wireless functionality, go to the “hardware” tab in your Bottango project. At the bottom of the menu, there’s a status display of if wireless has been set up, or to disable it if it already has been. Press the “Set Up” button in that section.
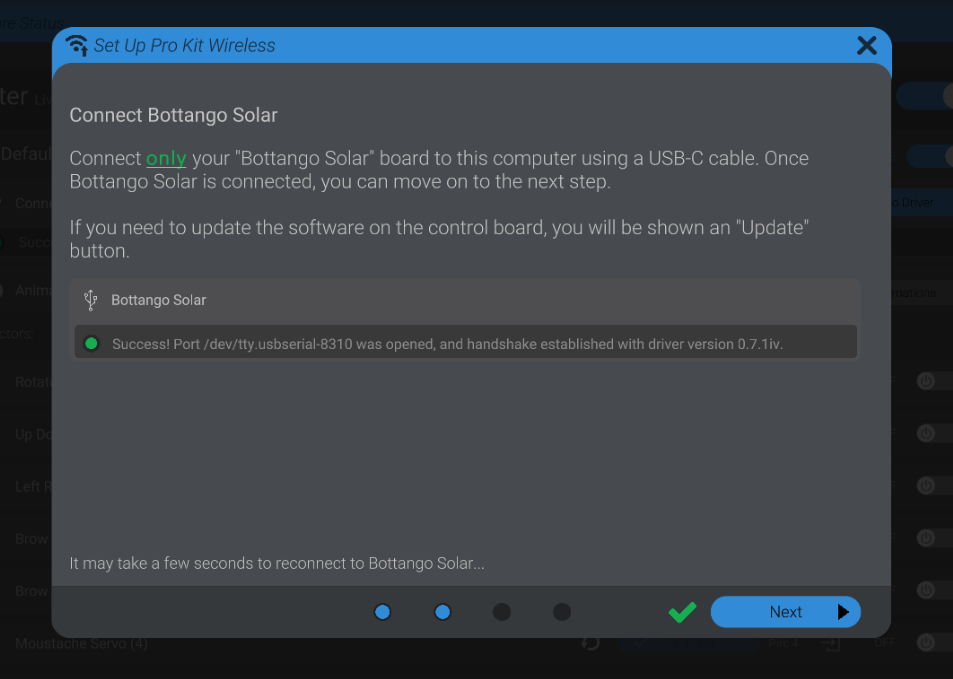
You will be guided through a wizard that takes you through step by step to enable the wireless functionality. Follow the steps in that wizard, first configuring Bottango Solar, then Configuring Bottango Nova, and finally connecting the two wirelessly.
Going Mobile
If the wizard is successful, you’re now able to take your Solar away from the computer and connect wirelessly. However, just like with playing exported animations without a computer, Bottango Solar still needs to be powered correctly.
When connecting wirelessly, BOTH Bottango Solar and the servos/speakers need to be separately powered.
Power the servos/speakers with the kit’s power adapter.
Power Bottango Solar using the USB cable and a USB power adapter (like a USB C phone charger, or a portable usb power bank, etc.)
Looking for a Wireless Connection
When set in wireless connection mode, but not yet connected, the connection light will be pulsing blue (quick twice, then slow once).

You can only connect to it wirelessly with the Bottango Nova board connected to your computer and live in the desktop app. When you take the Bottango Solar board live in the app, the Bottango nova board will attempt to establish the wireless connection.
Once connected, the connection status light will glow green and the data light will flash as commands are received.

Reverting Back
You can revert back to a single USB wired connection. Connect your Bottango Solar back to your computer over USB, and then press the “Disable” button in the pro kit wireless portion of the hardware menu. Be sure to have unplugged the Nova before reverting back as well. Bottango will reset back to using a USB wired connection. If in doubt, and things aren’t resetting back as you expect, you can always use the Factory Reset button on the Bottango Solar to manually turn it back into USB mdoe.
Troubleshooting
The exact distance you can keep while maintaining a solid connection is going to depend on a lot of environmental variables. You’ll have to do some trial and error in your environment to find what use cases are available to you. As I get more feedback from end users, I can make more accurate general recommendations as well.
If things aren’t working as expected, turn off “live” on both Bottango Solar and Nova in the desktop app, disable “master,” then press the reboot button on each board. Then enable master, set Bottango Nova live, then set Bottango Solar live. That can usually reset a broken state.
If things aren’t working at all, and you can’t revert back to a usb wired connection using the interface in the app, use the Factory Reset button to reset the Bottango Solar board manually back to a usb wired connection.
Bottango Discord community and support e-mail are places to get help as well.